Car owners know how frustrating it can be to find your windshield and body covered in fly residue, especially after a long journey. These small insects not only compromise the aesthetics of the vehicle, but can also cause damage to the paint if not removed in time. The residues of midges are in fact acidic and, if left for a long time, can corrode the surface of the bodywork, penetrating the layers of paint.
With the right techniques and products, however, you can effectively remove midges from your car and prevent any damage. In this guide, we'll explore the best strategies for keeping your vehicle clean and protected. From removing midges to washing your car, to practical advice on how to prevent the problem.
- How to eliminate midges from your car
- How to clean your car windshield of midges
- How to remove midges from car bodies
- How to protect your car from midges
How to eliminate midges from your car
Removing midges from your car is one of the basic steps in washing and decontaminating your vehicle. To properly remove these contaminants from your car, it's essential to wash your vehicle first: a good wash can eliminate surface residue and facilitate subsequent detailing steps.
Read our car wash guide to learn the best techniques for professional cleaning even at home.
After washing correctly, the vehicle is decontaminated, treating the windshield and bodywork differently.

How to clean your car windshield of midges
-
-
 +
+
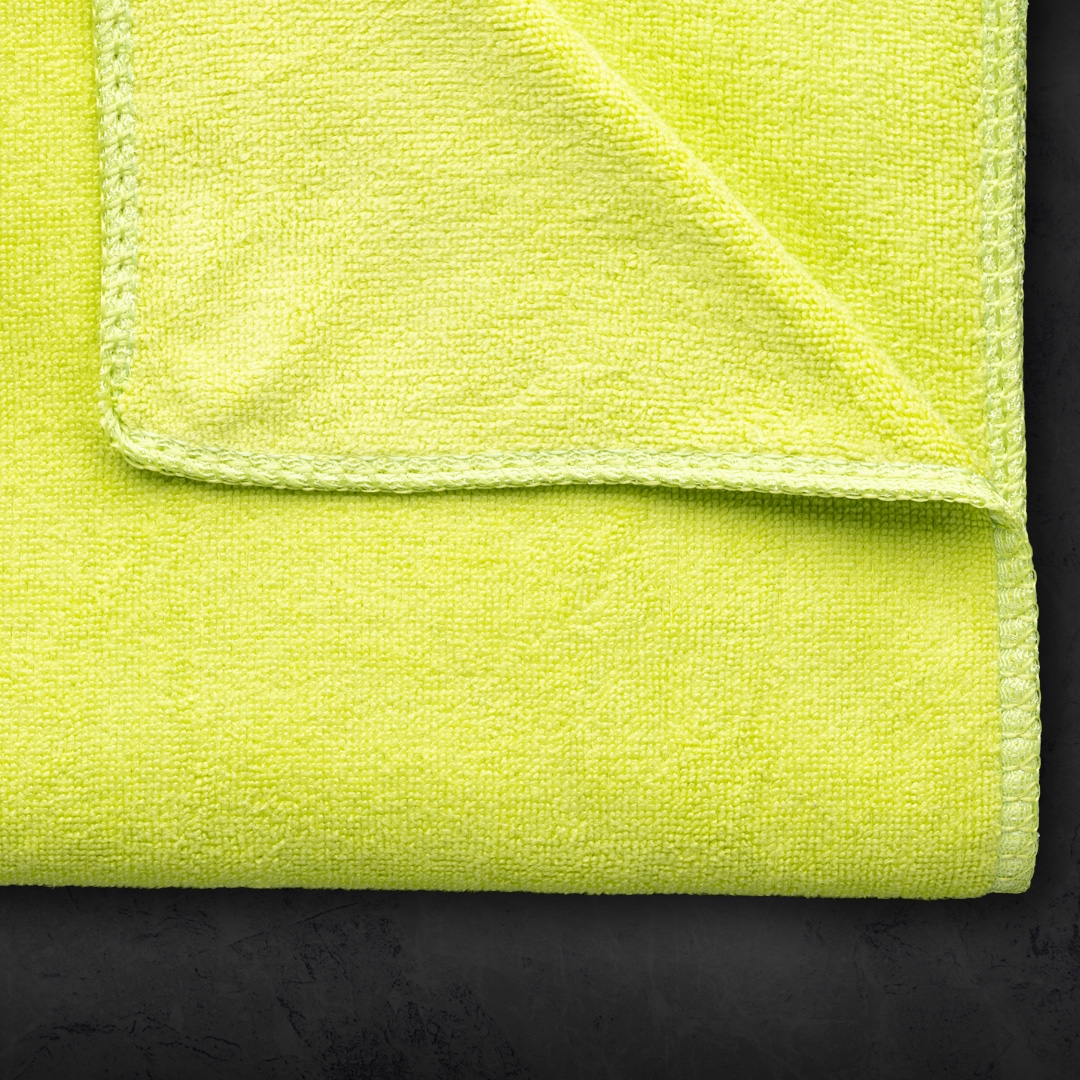
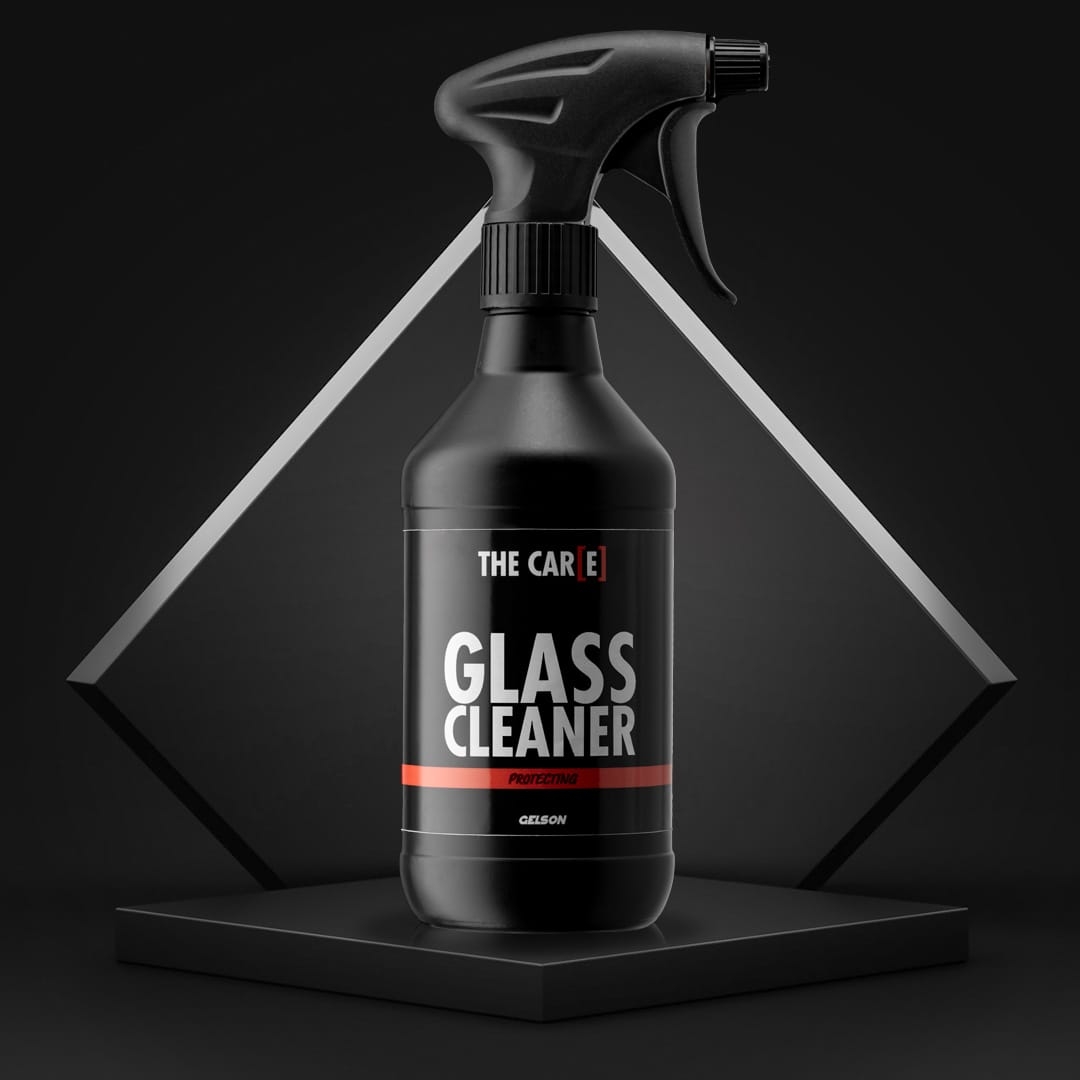
The windshield is often the part most affected by midges and insects. For effective cleaning, a specific product is recommended such as Glass Cleaner, The Care line's internal and external crystal cleaner. Glass Cleaner can be applied with a double-sided microfiber cloth, using the short-haired part for cleaning and the long-haired part to remove any excess product. Its special formulation will leave the crystals shiny without any particular effort. Its rapid evaporation makes it possible not to leave streaks but at the same time to remove impurities in a single pass.
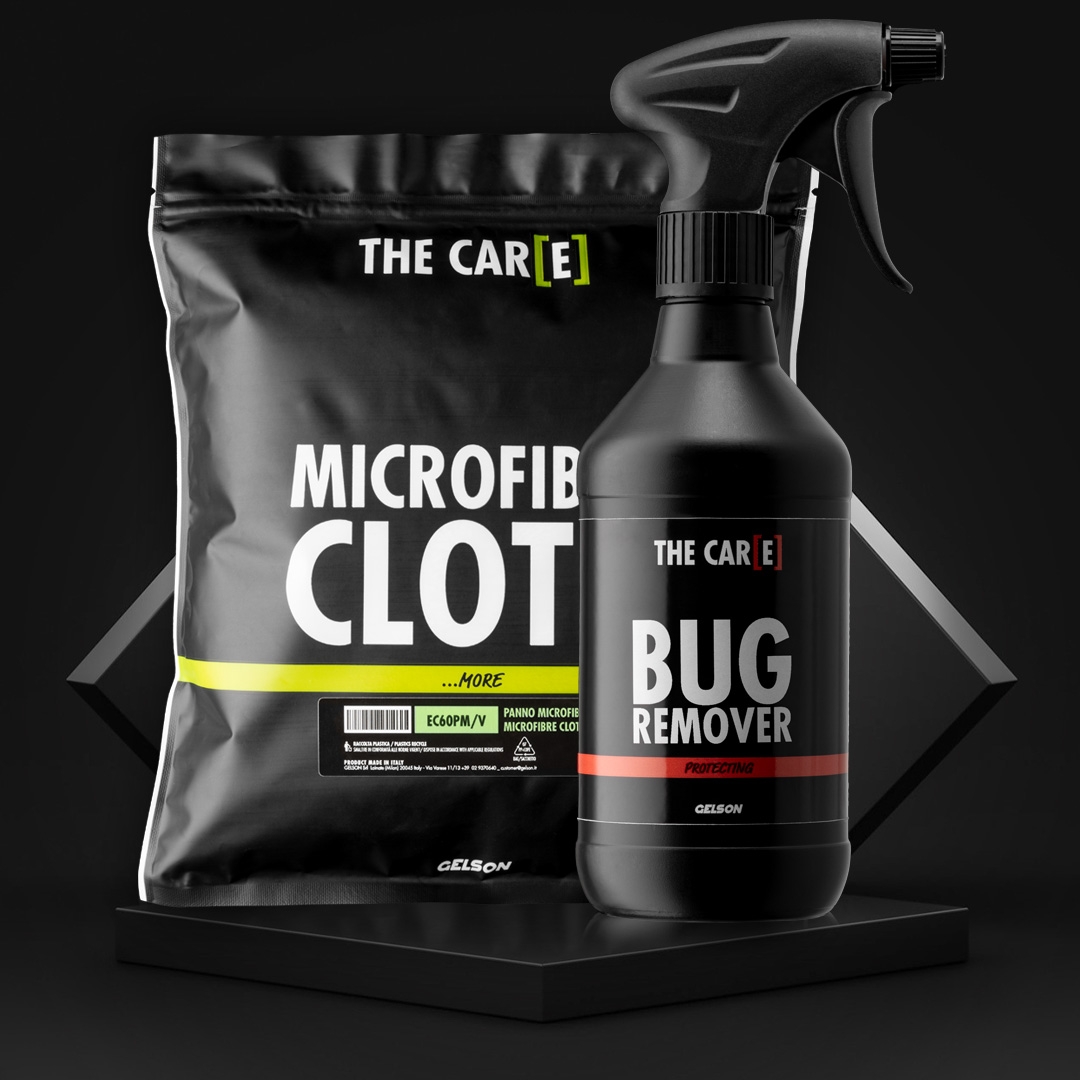
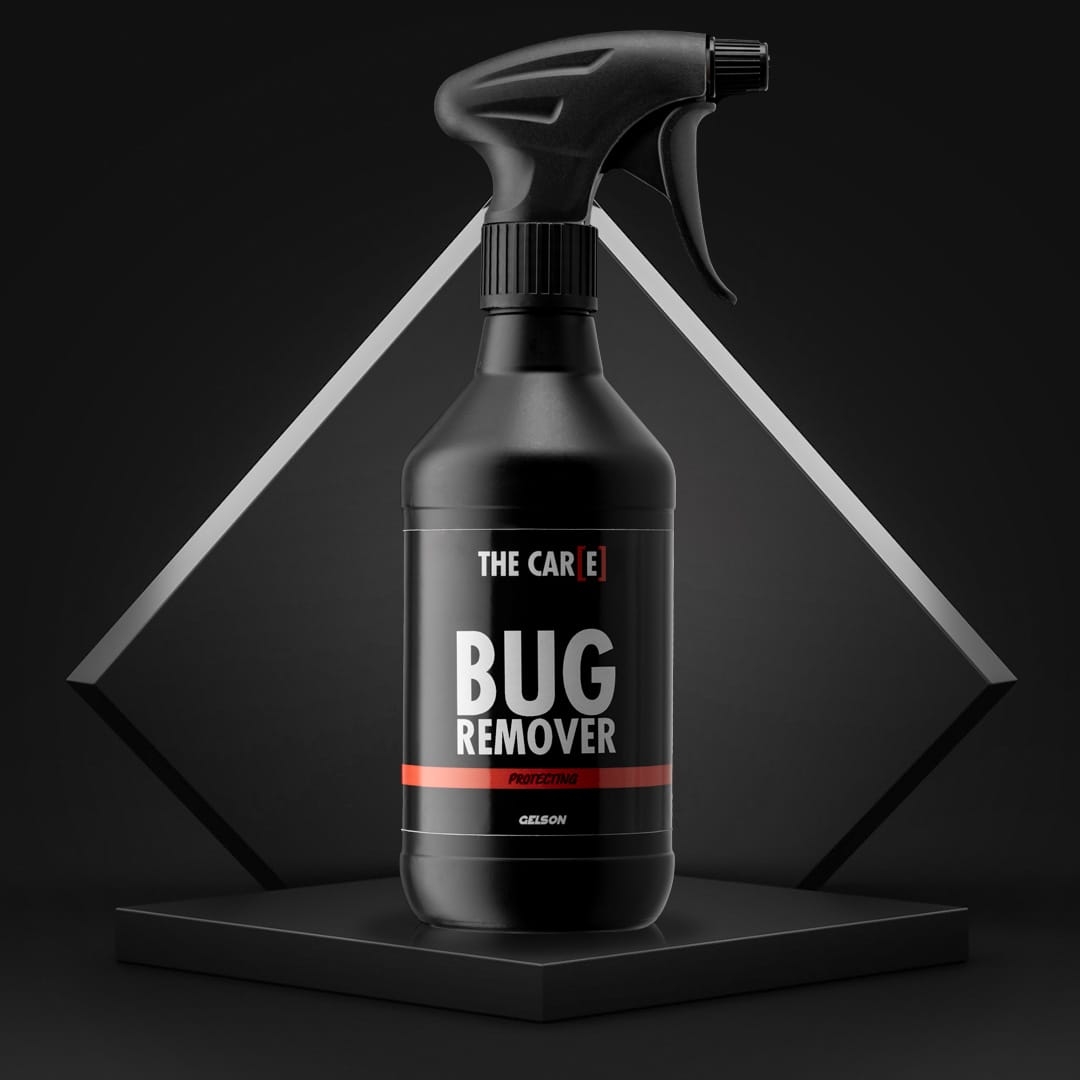
This product is specifically formulated to effectively remove dirt from glassy surfaces but, where there were more difficult-to-remove contaminants, a product such as Bug Remover which, although specific to the bodywork, is formulated in such a way as not to damage plastic crystals, headlights or visors.
How to remove midges from car bodies
Removing midges from the body requires a targeted approach to avoid scratching the paint or leaving streaks. For this reason, after washing, it is necessary to use the right products and techniques to proceed with professional decontamination.
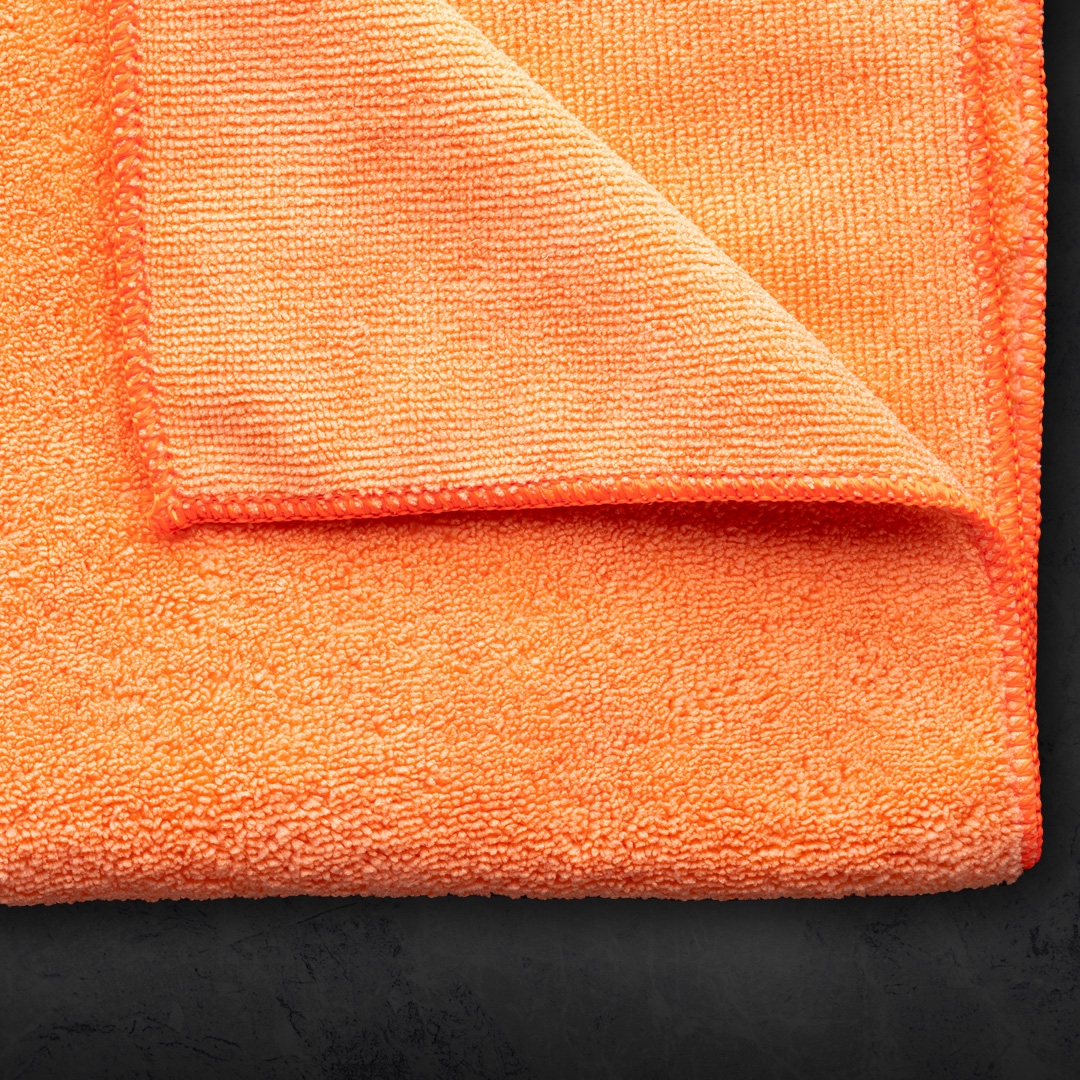
- Surface preparation | Even after washing, if there were to be a lot of contaminant residues it would be necessary to degrease the surface to be treated using a specific product such as Degreaser con double-sided microfiber cloth. It is good to remember to remove excess product by rinsing the part to be treated
- Apply resin remove | With a clean surface you can proceed by applying Bug Remover, specially designed for the removal of midges from the shiny or matte paint of the car and leave to act for about 30 seconds and rub with short-haired microfiber cloth the desired area, alternatively you can use brushes or sponges
- Rinse the surface | Once the treatment has been carried out, it is essential to rinse or wash (con shampoo for glossy paints or for matte paints) if necessary the surface, in order to eliminate product residues to prevent chemical agents from ruining it
-
-
+
Remember that using chemicals, it is essential to proceed on surfaces not exposed to the sun and at room temperature without applying it when these conditions are not respected. Chemicals could be altered, be less effective, or cause harm.
To learn more about car decontamination you can read our dedicated guide.
How to protect your car from midges
Every car care treatment is essential to give the right look to the car, but the protection phase is the one that will reduce cleaning and decontamination activities over time. As we have already seen, a clean surface is less likely to get dirty and does not allow the accumulation of dirt and decontaminants. The fourth phase of car detailing, protection, aims precisely to preserve the results achieved over time by creating a real protective layer on the treated surfaces.
Detailing treatments are dedicated to the specifications of the paint to be treated; in fact, different processes must be followed for glossy or matte paints:
- Glossy paints | Before proceeding with the Protection we start from cleaning with Shampoo Wax with Shampoo Glove, then proceeding to the removal of resin or tar and midges. You can then rinse and apply Polishing Protective Wax. Maintenance after each wash can be carried out with Brightening Protective Detailer
- Matt paints | It starts with cleaning the surface with Matt Paint Cleaner and Shampoo Glove, then proceeding to the removal of resin or tar and midges. You can then rinse and apply Renewing Protective Detailer, for both protection and maintenance after washing
Learn more about how to protect the car in our guide dedicated to protection.