How to apply stucco?
In the world of small DIY car repairs, the application of putty is often used to repair small damages, dents or superficial bumps on the car body. Here's how you can apply stucco correctly.
Materials needed:
- Auto Repair Putty : Make sure you use a quality putty specifically made for automotive repairs
- Plastic scraper or metal spatula : for applying and leveling the stucco
- Sandpaper of various grits : from coarse to fine grit to prepare the surface and smooth the stucco
- Face protection mask : to protect you from stucco dust
- Protective gloves : made of rubber, vinyl or similar materials to protect the
- Clean cloths : to clean the surface and grout residues
- Body primer (if necessary)
- Body paint (if necessary)
Procedure:
- Surface Preparation : Make sure the surface of your car is clean and free of dirt, grease and rust. You can wash your car and dry it thoroughly before starting the repair.
- Preparing the putty : Follow the manufacturer's instructions for mixing your auto repair putty. Typically, you will need to combine the catalyst with the stucco compound to cure it properly, typically in a ratio of 1-2%.
- Application of the stucco : after mixing it correctly using spatulas in small quantities at a time so that the mixture does not harden too much, use the scraper or spatulas of different sizes to apply and level the stucco evenly on the damaged surface. Allow the grout to dry according to the manufacturer's instructions. Drying time varies depending on the type of grout and environmental conditions
- Sanding : After the filler is completely dry, if no further layering is necessary to completely level the affected area, use sandpaper of various grits to smooth the surface. Start with a coarse grit to remove any imperfections and then proceed with finer grits to achieve a smooth finish. A manual sanding pad may be useful and you can alternatively use a sanding machine according to your preference
- Cleaning : After sanding, clean the surface thoroughly and make sure to remove all residues of filler and dust
- Primer and paint (if necessary) : If you have applied filler to a visible surface, such as the body of your car, you may want to apply body primer and then body paint specific to the color of your vehicle to achieve a uniform finish
Remember that car repair putty is mainly used for light damage or superficial dents.
To guarantee high-quality results, we recommend The Care putty collection which offers a wide range of solutions for small DIY repairs of different materials and surfaces.
These are very high quality fillers, successfully on the market for 60 years, chosen by thousands of professionals, specifically designed to correct imperfections and small marks on the bodywork and other surfaces.
They are all two-component putties, with the catalyst already included in the package, which can be used with the appropriate set of Putty Knife spatulas of different sizes.
Let's discover them briefly together:
- Standard Putty white : light, white, smooth fine-grained putty, for light thicknesses and for finishing
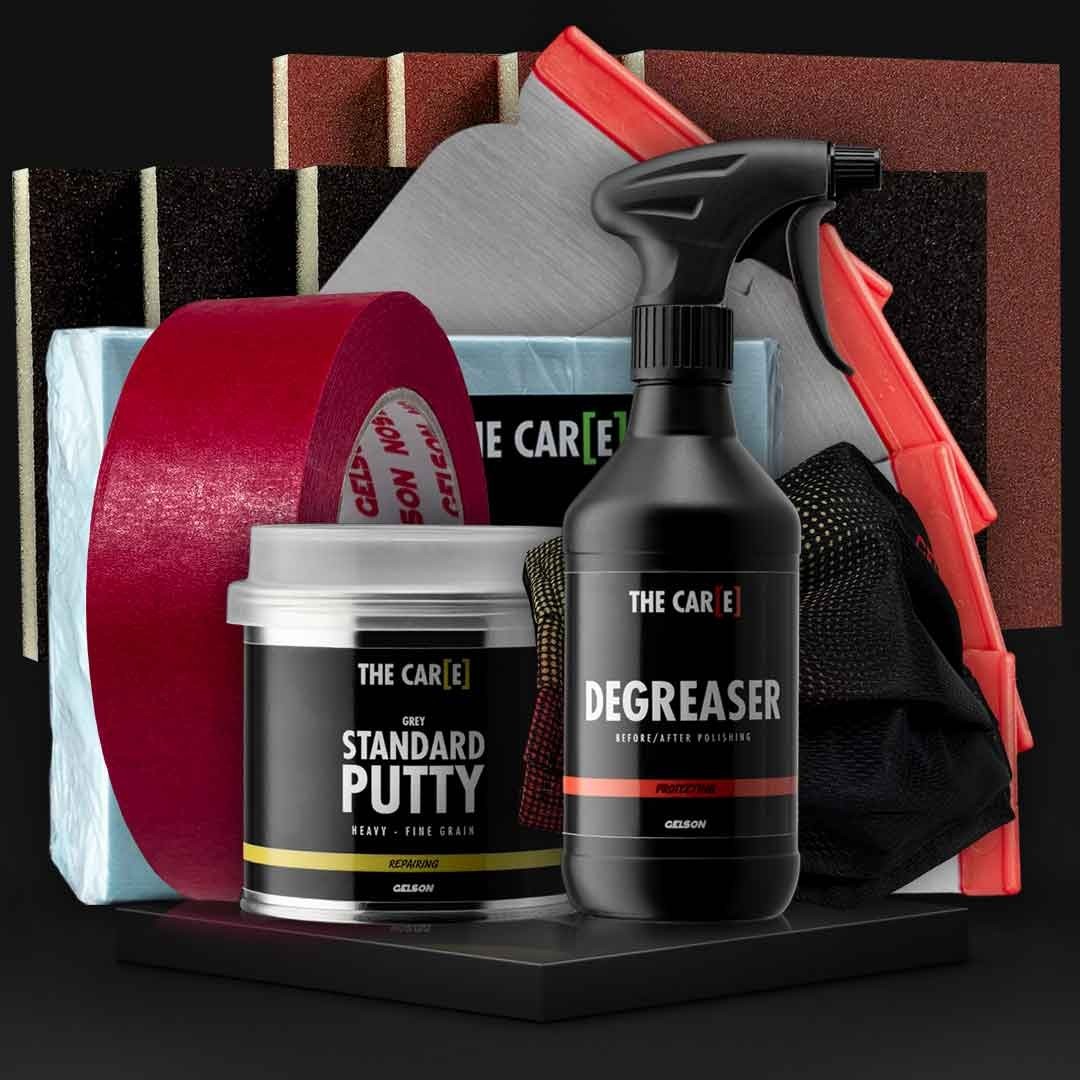
- Standard Putty grey : heavy, grey, porous fine-grained putty, for light to moderate thicknesses
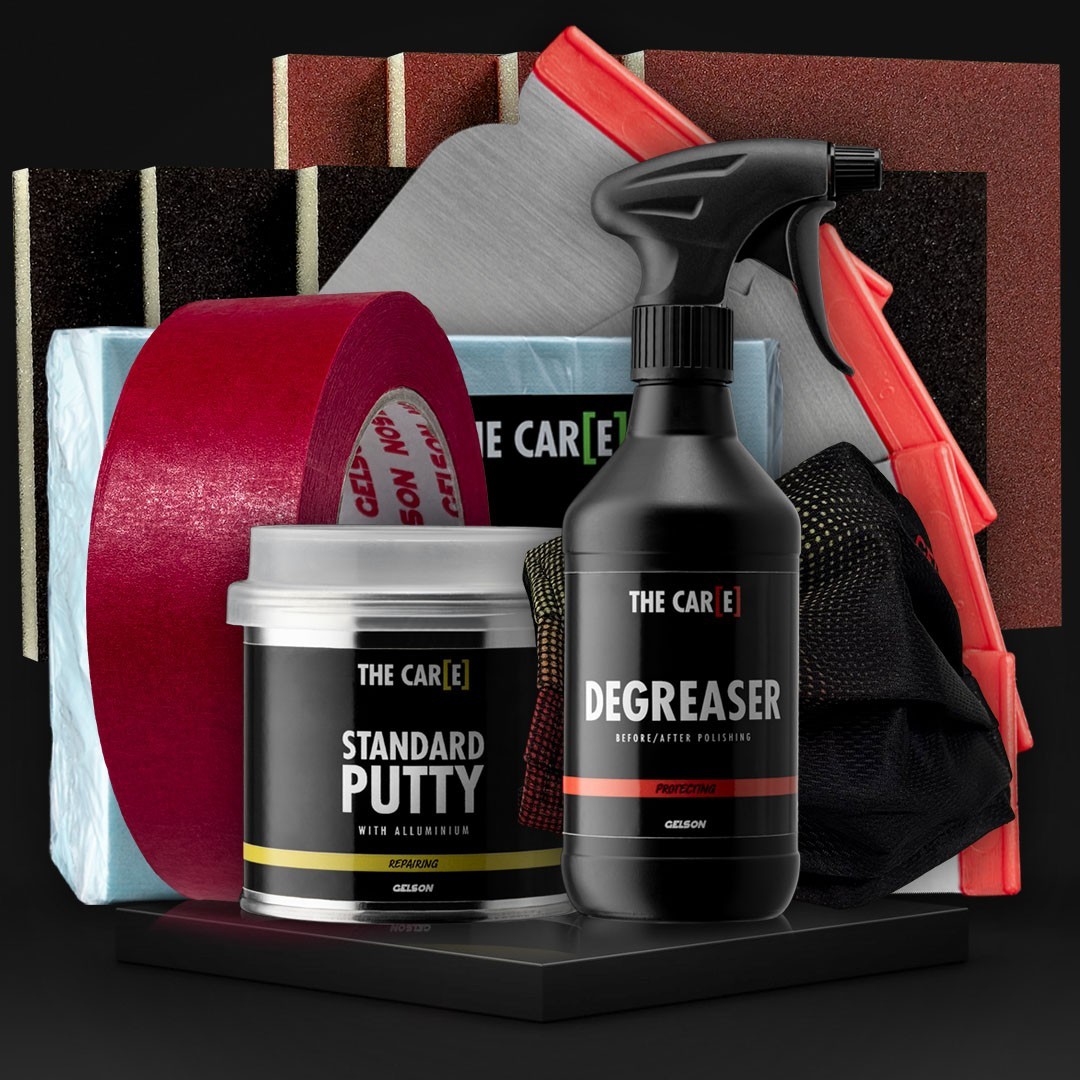
- Standard Putty with aluminium : putty enriched with aluminum flakes, metallic grey, for higher thicknesses, layerable and refinishable with a finishing putty
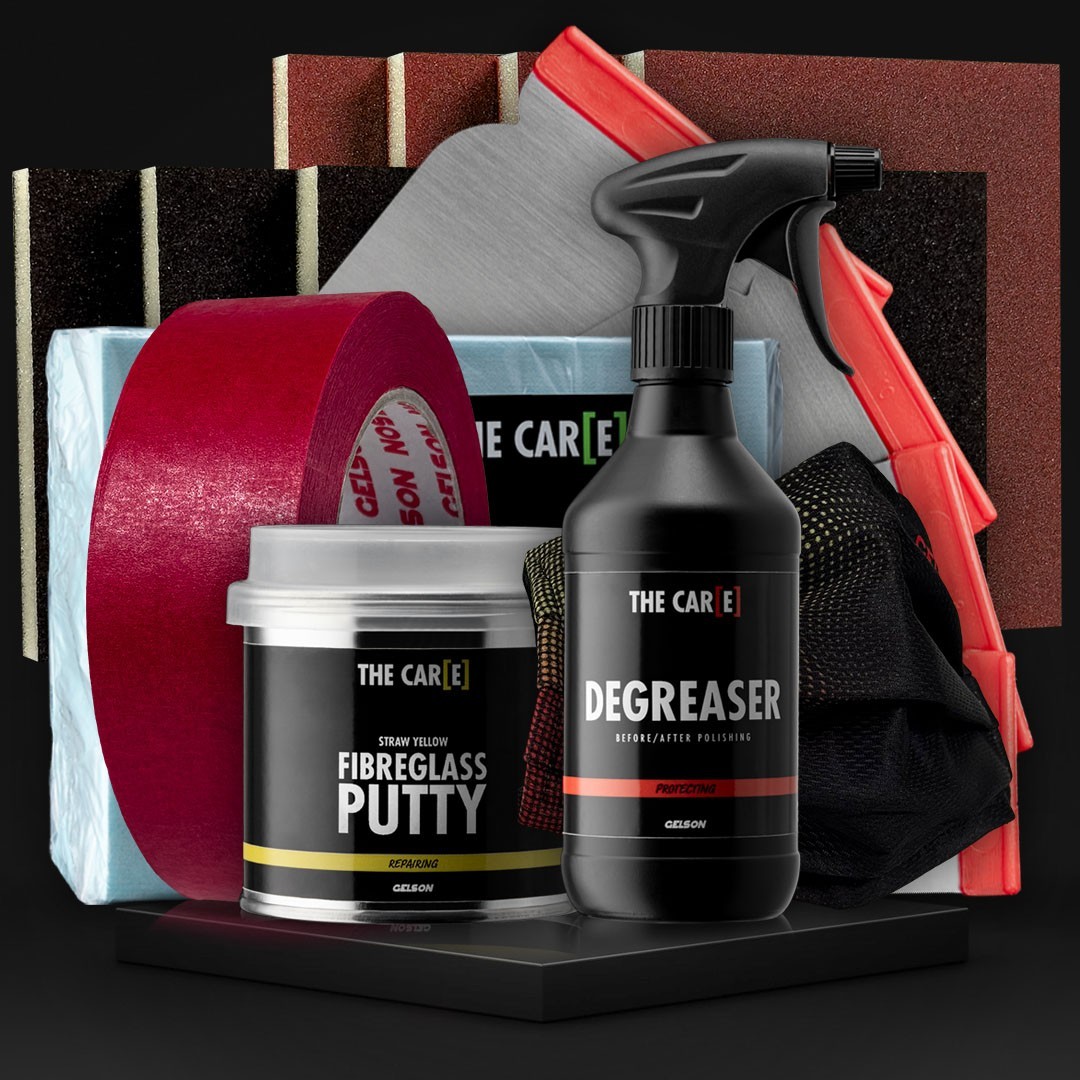
- Fibreglass Putty : putty for fibreglass, with glass fibres, for higher thicknesses
- Plastics Putty black : putty for bumpers and other plastic parts, black, elastic
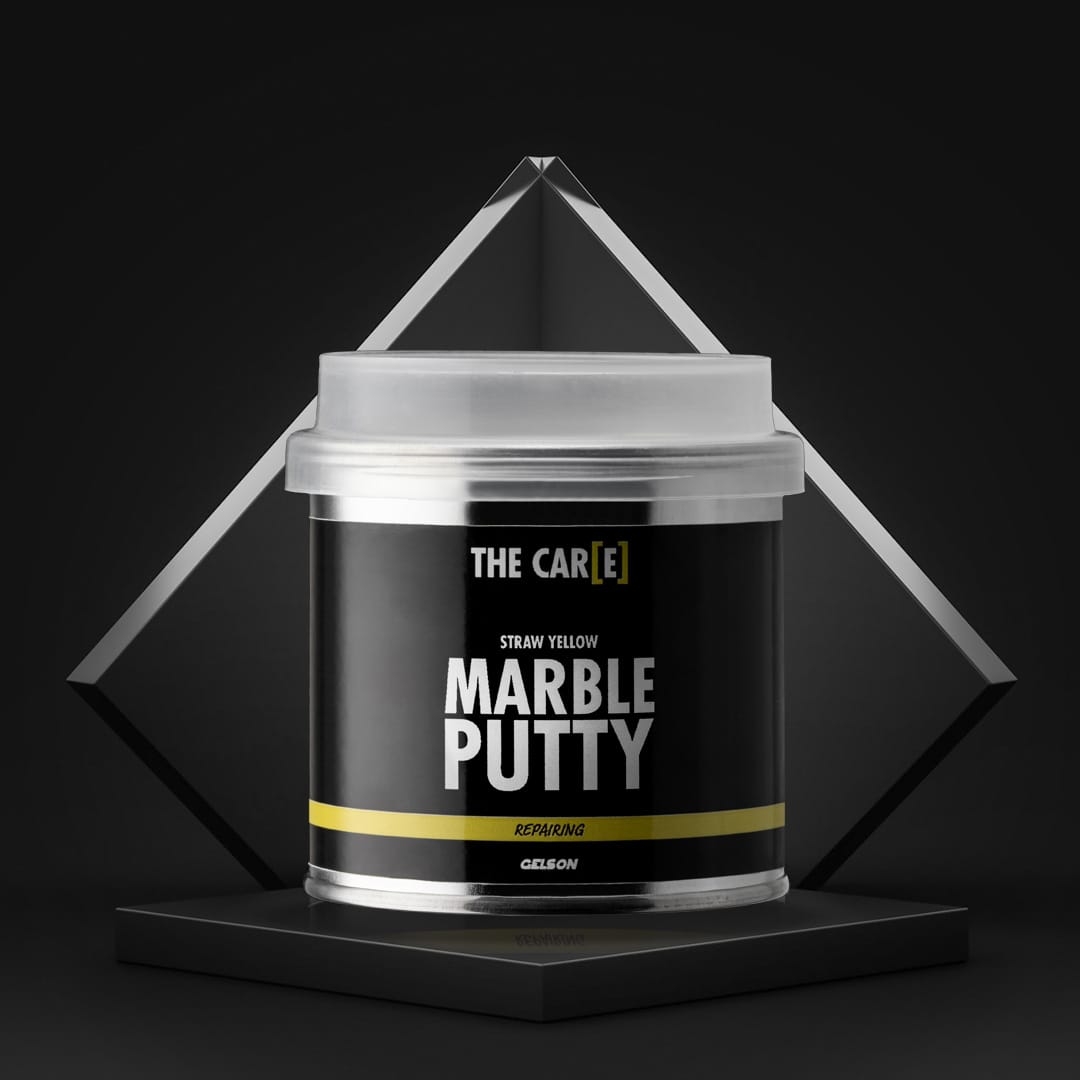
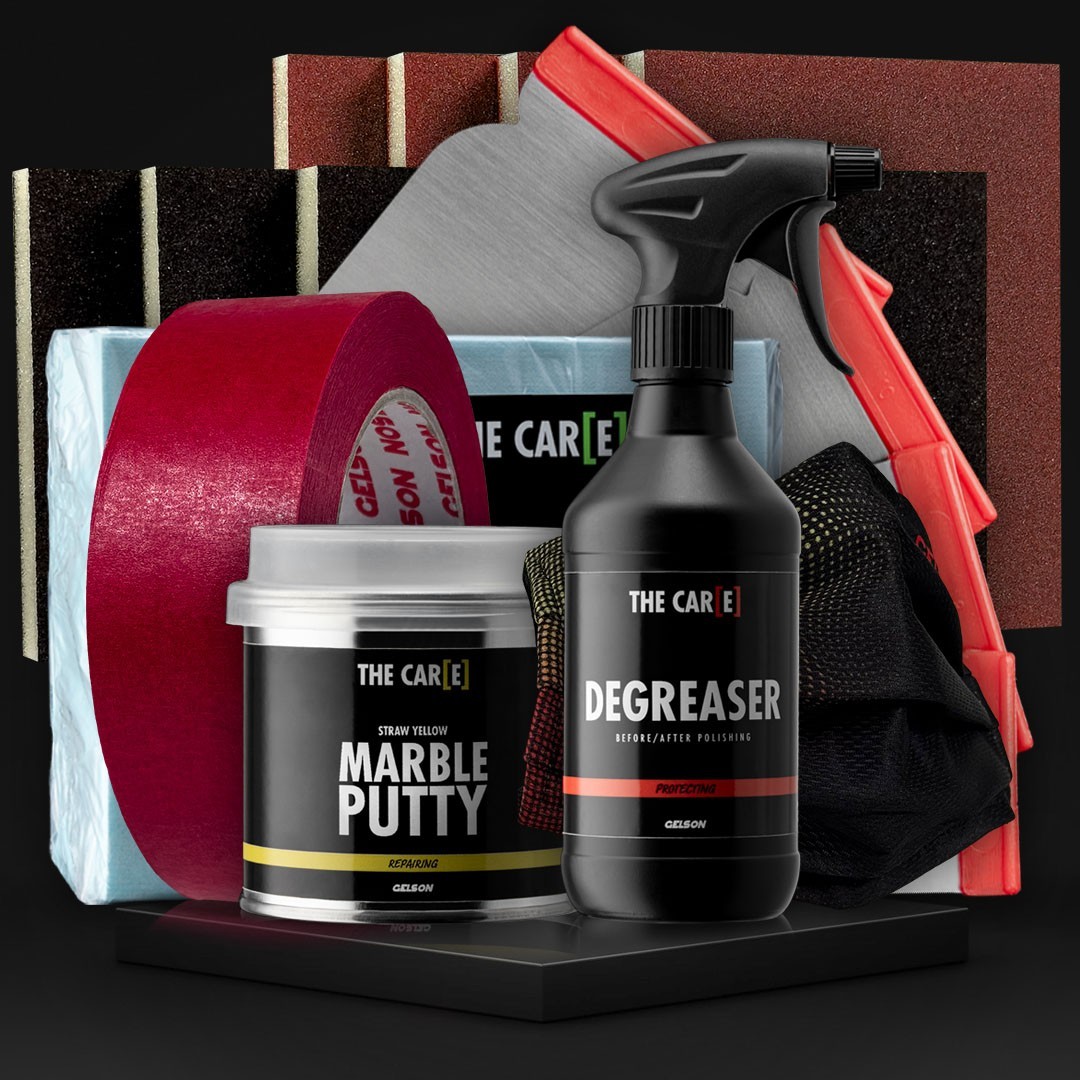
- Marble Putty : creamy, non-pigmented marble putty, applicable for both horizontal and vertical surfaces
Read also:
Related Products