How to apply putty on plastic?
The application of putty to car exterior plastics, such as bumpers, requires attention and precision, as well as the choice of quality products and accessories, to achieve an effective repair. Here's how you can do it:
Materials needed:
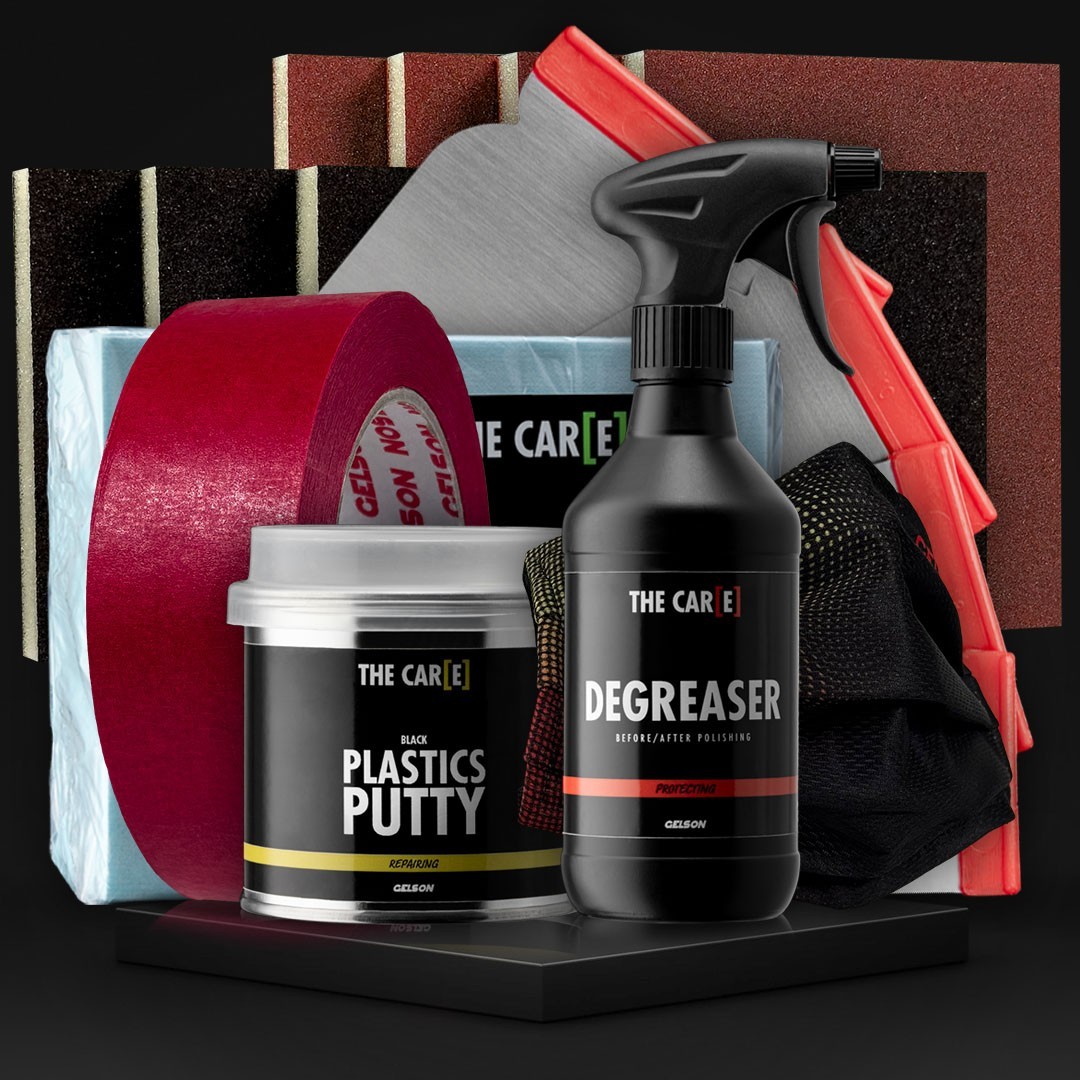
- Filler for exterior plastics : Be sure to use a filler specifically designed for exterior plastics, as these products are designed to adhere well and withstand environmental conditions
- Plastic or metal scraper or spatula : for applying and leveling the stucco
- Sandpaper of various grits : from coarse to fine grit to prepare the surface and smooth the stucco
- Face protection mask : to protect you from stucco dust
- Protective gloves : made of rubber or vinyl or similar professional materials to protect the hands
- Clean microfibre cloths : to clean the surface and remove grout residue
- Primer for plastics (if necessary)
- Plastic paint (if necessary)
Procedure:
- Surface Preparation : Make sure the surface of the plastic bumper is clean and free of dirt, grease and rust. Clean the area with a specific car cleaner or degreasing cleaner to remove any residue. You can use the Degreaser degreaser and wipe it with TNT Cloth non-woven cloths or a microfibre cleaning cloth such as Microfibre Cloth green . Rinse and dry the surface well before starting the repair
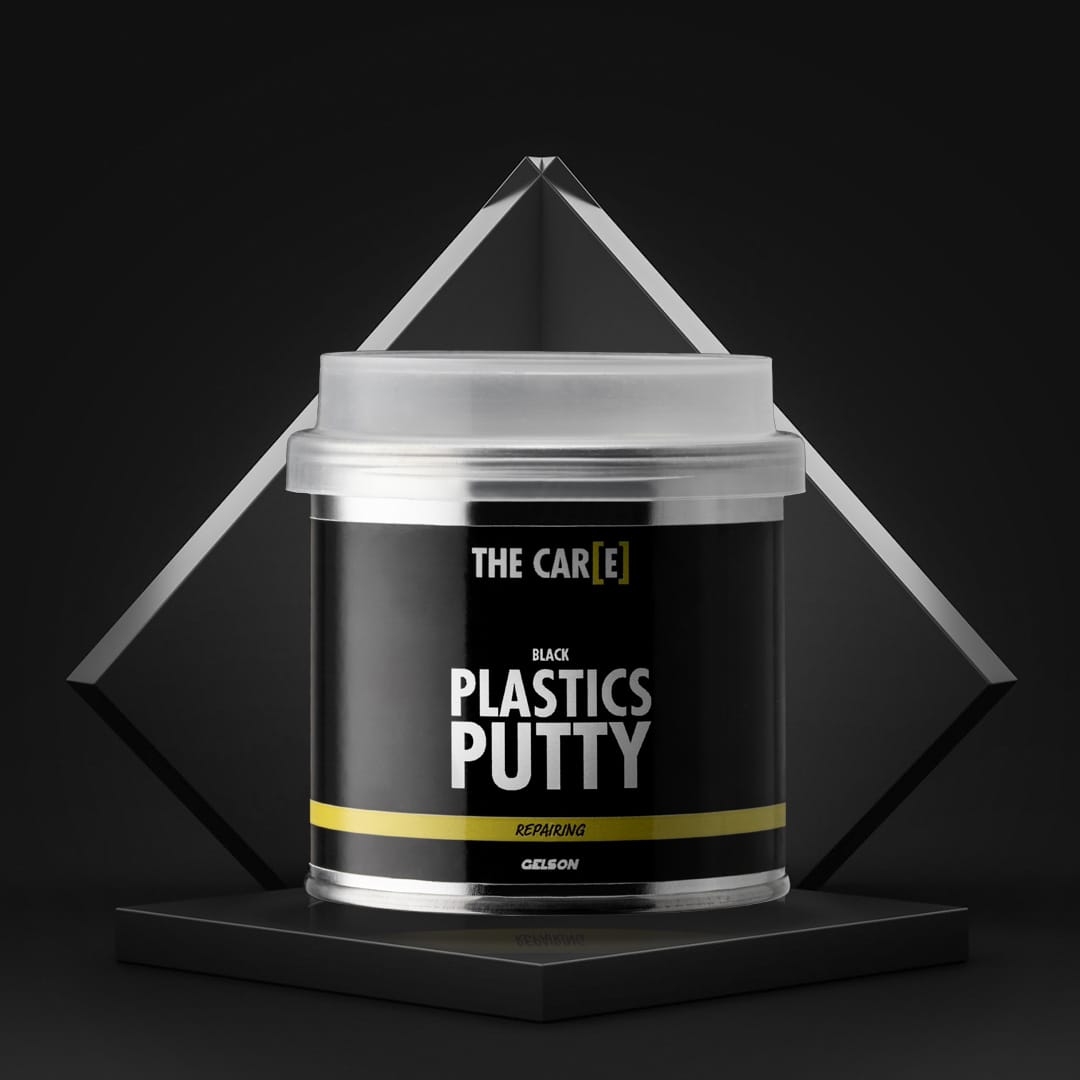
- Preparing the putty : Follow the manufacturer's instructions for mixing your plastic putty. Typically, you will need to mix the catalyst into the stucco mixture to harden it properly. Choosing a high quality product like Plastics Putty with catalyst already included in the package is the winning choice for carrying out small repairs to the external plastic parts of your car
- Applying putty : Use putty knives such as Putty Knife or a scraper to apply an even layer of putty to the damaged area of the bumper. Try to spread the material evenly, filling any cracks or dents. Work quickly, as stucco processing time can be limited
- Leveling and shaping : After applying the filler, use spatulas of the correct size for the extent, type and curvature of the plastic part or the scraper to shape and level the surface so that it is as smooth as possible. You can slightly moisten the tool to facilitate processing. Try to get a smooth surface with no dips or bumps
- Drying : Allow the grout to dry completely. Drying time varies depending on the type of grout and environmental conditions. Follow the manufacturer's instructions. Plastics Putty can be layered if multiple coats are required, ensuring complete drying between applications
- Sanding : After the putty is completely dry, use sandpaper of various grits to smooth the surface. Start with a coarse grit to remove any imperfections and then proceed with finer grits to achieve a smooth finish
- Cleaning : After sanding, clean the surface thoroughly and make sure to remove all residues of filler and dust. You can use a car degreaser like Degreaser , with TNT Cloth non-woven cloths and a green cleaning cloth like Microfibre Cloth green
- Primer and paint (if necessary) : if you want to paint the repaired area, to obtain a completely fresh and renewed effect of the plastic surface just repaired with Plastics Putty , apply a primer for plastics and then the specific plastic paint for the color of your vehicle. If you want to avoid the use of primers and achieve professional painting results at home, you can choose high-end spray paints for car plastics in texturizing black and gray colors for a textured effect like Texturizing or with a smooth finish like Paint. With the best products your car bumper will be as good as new!
By following these steps with care and dedication, you will be perfectly able to apply the filler for exterior plastics and bumpers effectively and obtain a resistant and aesthetically pleasing repair. Be sure to follow the specific manufacturer's instructions for the stucco and paint product you are using.
Read also:
Related Products


