When it comes to car care and maintenance, one of the most important steps is bodywork restoration. Deep scratches, dents, or minor imperfections can affect not only the vehicle's aesthetics but also its value.
Using car putty is essential to ensure a smooth, defect-free surface, making subsequent painting easier.
High-quality putties can provide professional results for DIY operations, even for less experienced detailers. However, it is always necessary to select the correct putty and follow the proper steps.
Also, check out our DIY car repair guide.
How to use car putty
Proper use of putty involves several steps, starting with preparing the surface, which must be thoroughly sanded and cleaned. Depending on the type of damage and surface, you can choose between different types of putty, such as single-component putties, which are ready to use and easy to apply, or two-component putties, which offer greater strength and durability. Applying the putty requires precision, especially regarding the dosage and mixing of the components, to ensure a uniform and durable repair.
How to sand the car
The first step is to degrease the surface to remove residues that could compromise the sanding process by clogging or dirtying the sandpaper.
Make sure to clean and degrease the area to be treated with Degreaser and TNT Cloth, removing all traces of dirt and residues. This step is essential to enable subsequent processes to be carried out effectively.
Once degreased and prepared, you can use sandpaper to remove the top layers of paint until you reach the bodywork, where the putty will adhere and allow for repair. Sanding the area involves using three different types of abrasive paper:

- Coarse grit (80-100) | removes larger portions of material; it is the first to be used without excessive pressure.
- Medium grit (120-180) | less abrasive than the first, it prepares the surface for the final step by smoothing the treated area.
- Fine grit (300-600) | used for the final step to remove any remaining primer or paint residues.
The correct method of using sandpaper is with gentle, repeated circular movements. Applying more pressure can create grooves, so it is recommended to proceed gradually until comfortable with the motion.
To facilitate application, manual pads or rotary/orbital polishers may be used, but these are recommended only for experienced detailers, as applying too much pressure can create grooves or damage the surface.
How to apply car putty
After sanding the area, clean the surface again with Degreaser and TNT Cloth to remove dust residues, so you can apply the putty.
First, remember that, as with all chemical components, putty should be worked at a temperature of about 18/22 °C to avoid temperature variations affecting the result or drying process. A particularly hot surface (e.g., if the hood is hot after driving) is also not conducive to this process, especially for less experienced detailers.
With this in mind, here are the steps to prepare and apply putty:
- Prepare two-component putty | Depending on the product, different dosages may be required. For The Care putty, the dosage is between 2% and 2.5%, which can be measured using precision scales. Experienced detailers often do this by eye, but this requires familiarity with the product and total dosage.
- Add the catalyst | Take the required amount of putty and mix in the appropriate amount of catalyst (2%-2.5% of the putty). Mix the two components thoroughly using a process called "spatulation," passing them back and forth between spatulas to ensure a uniform mixture. This must be done within the right time frame to avoid the catalyst hardening the putty prematurely.
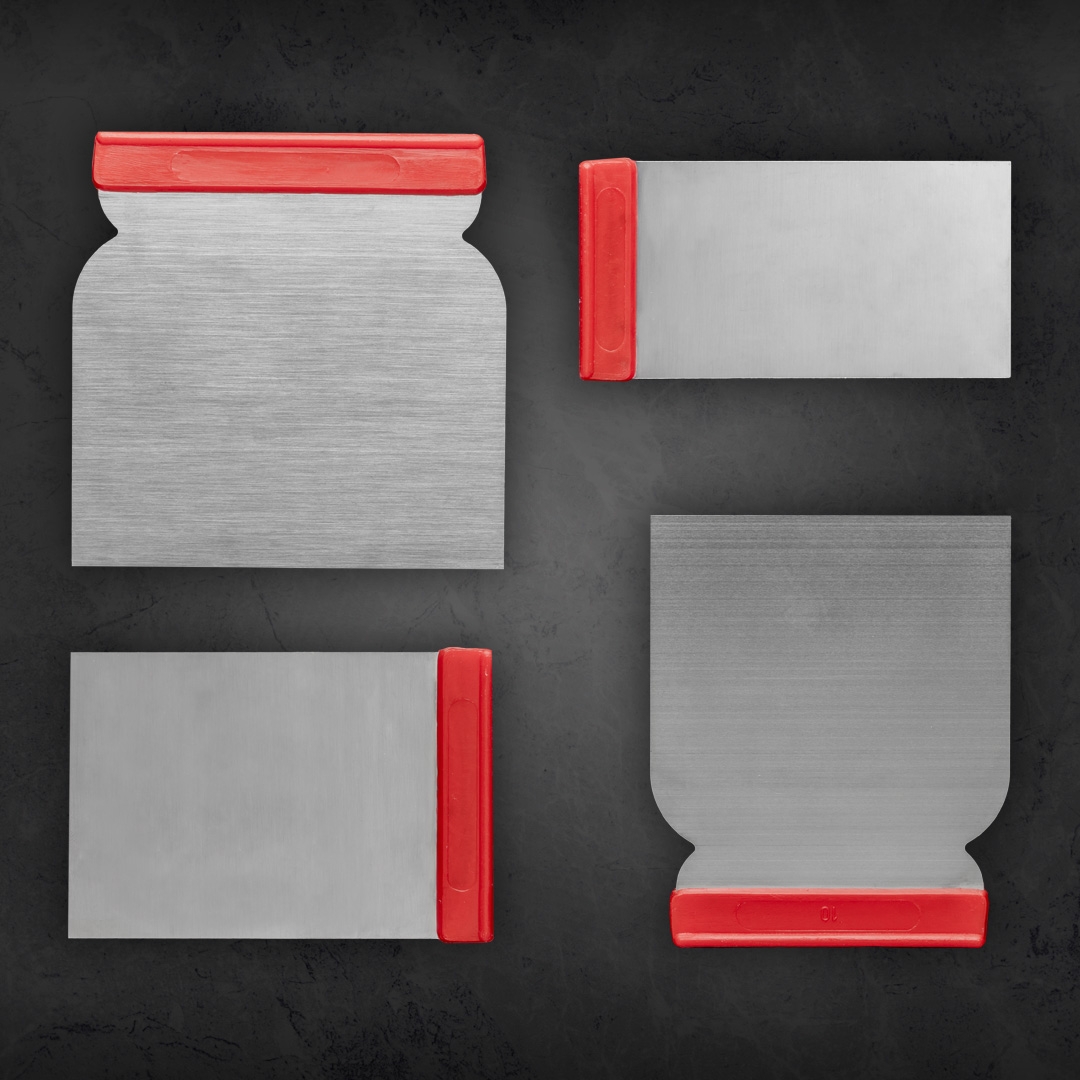
- Prepare spatulas | Use spatulas for portioning, mixing, and spreading the putty. Choose the right size spatula for the area being treated. Larger spatulas are better for curved areas, while smaller ones are ideal for flat surfaces.
- Apply the putty | Once the putty is mixed to a uniform color, it is ready for application. Use a spatula to apply the putty evenly, ensuring no creases or ripples on the surface.
- Let it dry | Allow the putty to dry for a few hours, depending on external humidity and temperature. The Care putties can be dried with air, lamps, or heaters (depending on the putty, up to 90/120°C).
- Sand again | Once dried, the putty will be hard. Sand it again using the same method and grit as before, being careful not to expose the metal part of the bodywork.
Which Putty to Use for Car Body Repairs
The choice of the right putty for car body repairs depends on the type of repair needed and the specific requirements of the vehicle. Single-component putties are ideal for small touch-ups and quick repairs, thanks to their ease of use and the ability to apply them without special preparations. However, for jobs requiring greater strength and durability, it is advisable to opt for two-component putties. These products, like those from the The Care line, offer a stronger and more durable repair, making them the preferred choice for more extensive or deeper damage.
For light dents, Standard Putty white is an excellent choice due to its fine grain and easy application. This putty is particularly recommended as a finishing product, to be applied over other layers of putty, and offers simple sanding.
If you need to fill light or medium dents, Standard Putty grey is a good option. Similar to the previous one, but with a coarser grain, it is ideal for more substantial filling.
For deeper damage, Standard Putty with Aluminium stands out for its thick consistency, thanks to the presence of aluminum particles. This makes it suitable for deep repairs where a robust and resistant filling is required.
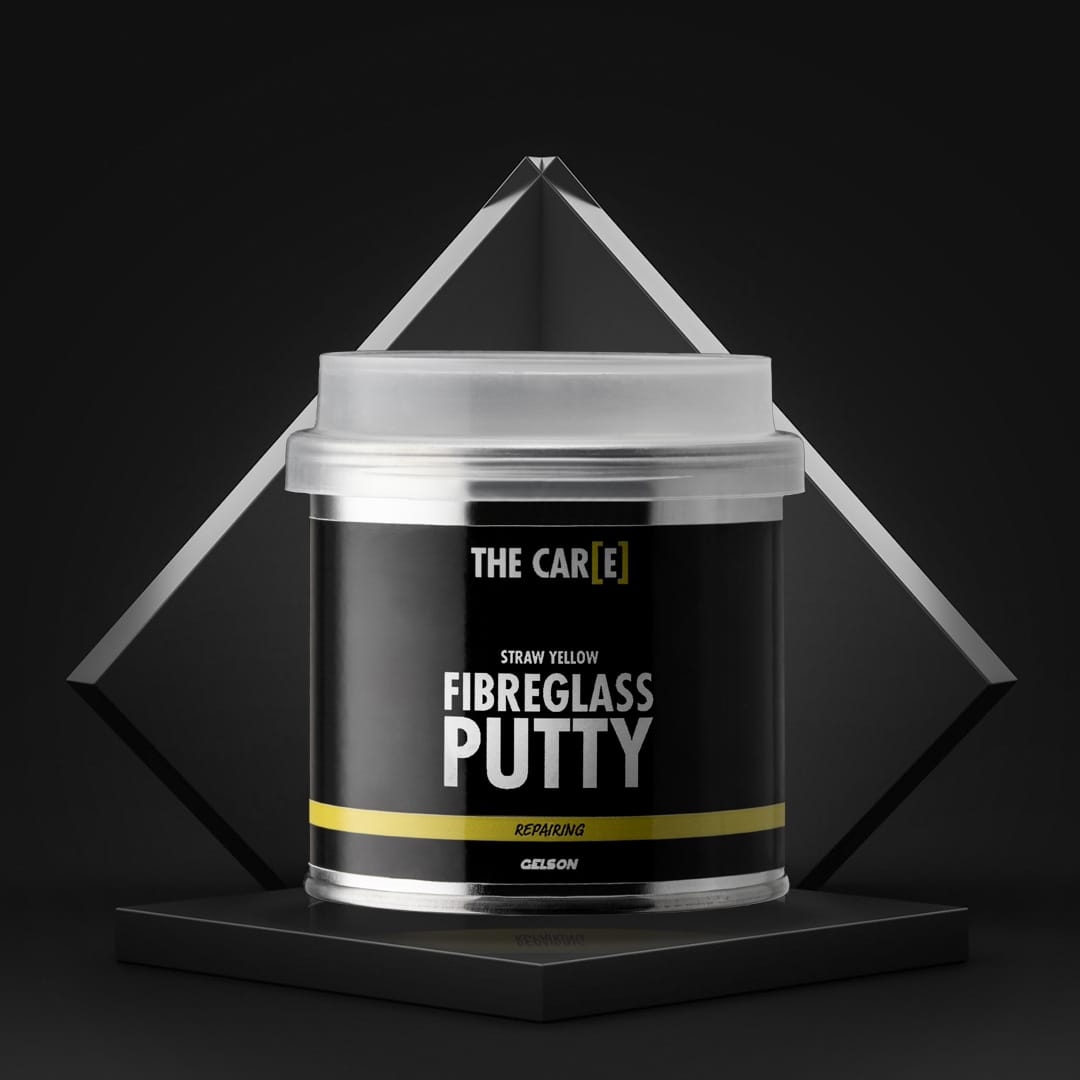
Finally, for fiberglass or gelcoat surfaces, Fibreglass Putty is the ideal choice. This putty is formulated for deep dents and can also be used on metal car bodies, offering notable versatility for repairs on different materials.
-

-
 +
+ -
 +
+