Free DashCam for every order starting from €50 until October 31st (while stocks last)

Fibreglass Putty

Fiberglass filler

Fibreglass Putty
Fiberglass filler

EC1040/200
€12.90
VAT included
Format
  • 200 g (7,05 Oz)

Time
Difficulty
Usage
Car body, External, Fiberglass, Gelcoat

Fiberglass putty - Fibreglass Putty

Fibreglass Putty is a glass flake reinforced fiberglass putty, ideal for applications requiring a strong, long-lasting fill . Particularly suitable for cars, it offers a resistant solution for repairs of damage to sheet metal, gelcoat and fibreglass. Unlike traditional fillers, in fact, its formulation allows you to obtain a high quality filling that does not crack, guaranteeing an optimal result during car and boat repair operations.


Discover the entire line of The Care putties .

Stucco per vetroresina The Care per riparazioni impegnative su superfici in gelcoat, lamiera e vetroresina
Stucco in pasta per vetroresina The Care per componenti in vetroresina dell’auto
Applicazione dello stucco per vetroresina The Care con spatola sulle superfici dell’auto

Fiberglass putty “Fibreglass Putty”: why is it so special?

  • Glass fiber reinforced : enriched with glass fibers which give greater strength making it suitable for applications requiring a thick, solid and durable filling
  • For sheet metal, gelcoat and fiberglass : ideal for use on surfaces such as sheet metal, gelcoat and fiberglass
  • It does not crack : even on high thicknesses this putty maintains its structural integrity, avoiding cracks and splits during the drying process
  • Versatile : It can be used as a filler or in combination with other fillers, adapting to different repair needs
  • Hold on welds : Its superior adhesion capacity guarantees a reliable hold on welds and metal surfaces

Fiberglass filler with glass fibers

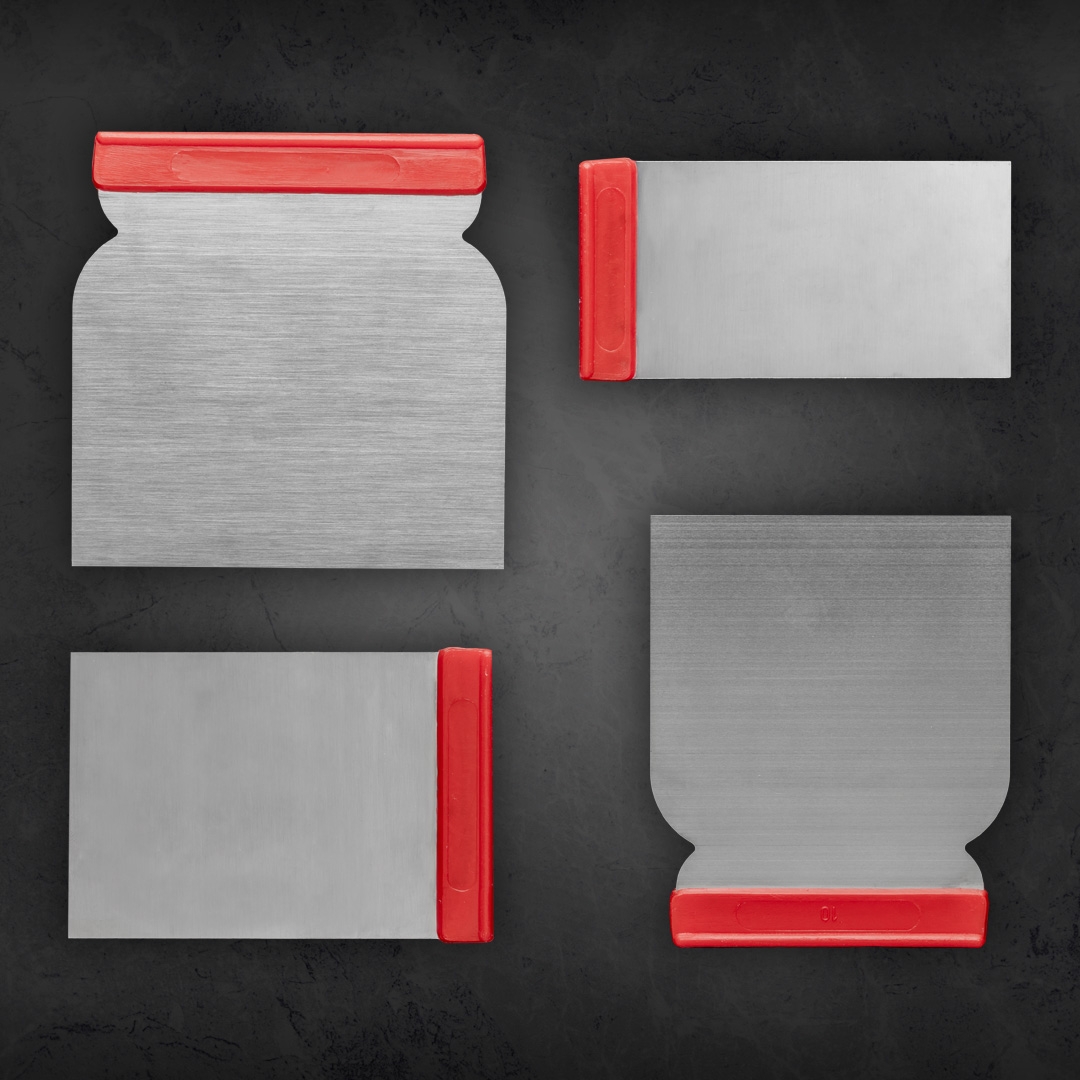
Fibreglass Putty is the ideal choice for those who want a product that combines resistance and versatility. Thanks to its formulation enriched with glass fibres, this body filler is able to withstand high thickness applications without cracking. A winning solution for car detailing lovers who aspire to tackle more complex repairs which, perhaps, require combination with other types of finishing putty such as Standard Putty white and Standard Putty grey . The use of this putty makes it very easy to level it with the Putty Knife spatulas and then proceed with sanding and subsequent finishing.

EC1040/200

Data sheet

Time
5
Difficulty
5
Usage
Car body
Usage
Gelcoat
Usage
Fiberglass
Usage
External
Safety
FLAMMABLE
Safety
TOXIC
Safety
DANGEROUS FOR THE ENVIRONMENT
What means?
Car
What means?
Motorcycle
What means?
Camper
What surface do you want to treat?
Fiberglass or gelcoat
What surface do you want to treat?
Car body
What kind of repair?
Deep
Internal or External
External

Technical Specifications of Fibreglass Putty

  • Application: Metal, gelcoat, fibreglass
  • Color: Yellow
  • Size: 200 g (7.07 oz)
  • Weight: 200 g (7.07 oz)
  • Dimensions: /
Fibreglass Putty is applied on fibreglass, gelcoat, or sheet metal surfaces

Tin of fibreglass putty with fibres 250ml

Package Contents of Fibreglass Putty

  • 1 x Putty
  • 1 x Catalyst

Preparation of the Surface

  1. Clean the surface to be treated to remove dirt and debris
  2. Lightly sand the area to be treated
  3. Apply a degreaser for deeper cleaning
  4. Completely dry the surface

Application of Fibreglass Putty

  1. Thoroughly mix the product before use, take the necessary amount with a spatula, and mix with the catalyst in the indicated proportion
  2. Apply a uniform layer of Fibreglass Putty on the prepared surface
  3. Smooth with a spatula to ensure even distribution
  4. Allow to dry for at least one hour at room temperature
  5. Sand the surface to prepare it for the finishing phase
The Care fiberglass putty applies easily and withstands high thicknesses without cracking
Leveling The Care fiberglass putty with a spatula for a professional result in a few steps
Sanding the bodywork before using The Care fiberglass putty

Download

FLAMMABLE
Flammable gas.
TOXIC
Toxic if swallowed, inhaled or in contact with skin.
DANGEROUS FOR THE ENVIRONMENT
Toxic to aquatic organisms with long lasting effects.

Product reviews

100% secure payments

FAQs

Applying fiberglass filler to automotive or other fiberglass surfaces requires care and precision to achieve a smooth, durable result. Here's how you can do it simply and accurately at home.

Fiberglass putty is used on fiberglass surfaces and in various fields of application such as, for example, the nautical one. It is the useful and indispensable tool for filling, correcting and leveling imperfections, drafts and damage, even of large thicknesses. It is, in fact, a layerable and excellently resistant filling putty that allows anyone to carry out small do-it-yourself repairs.

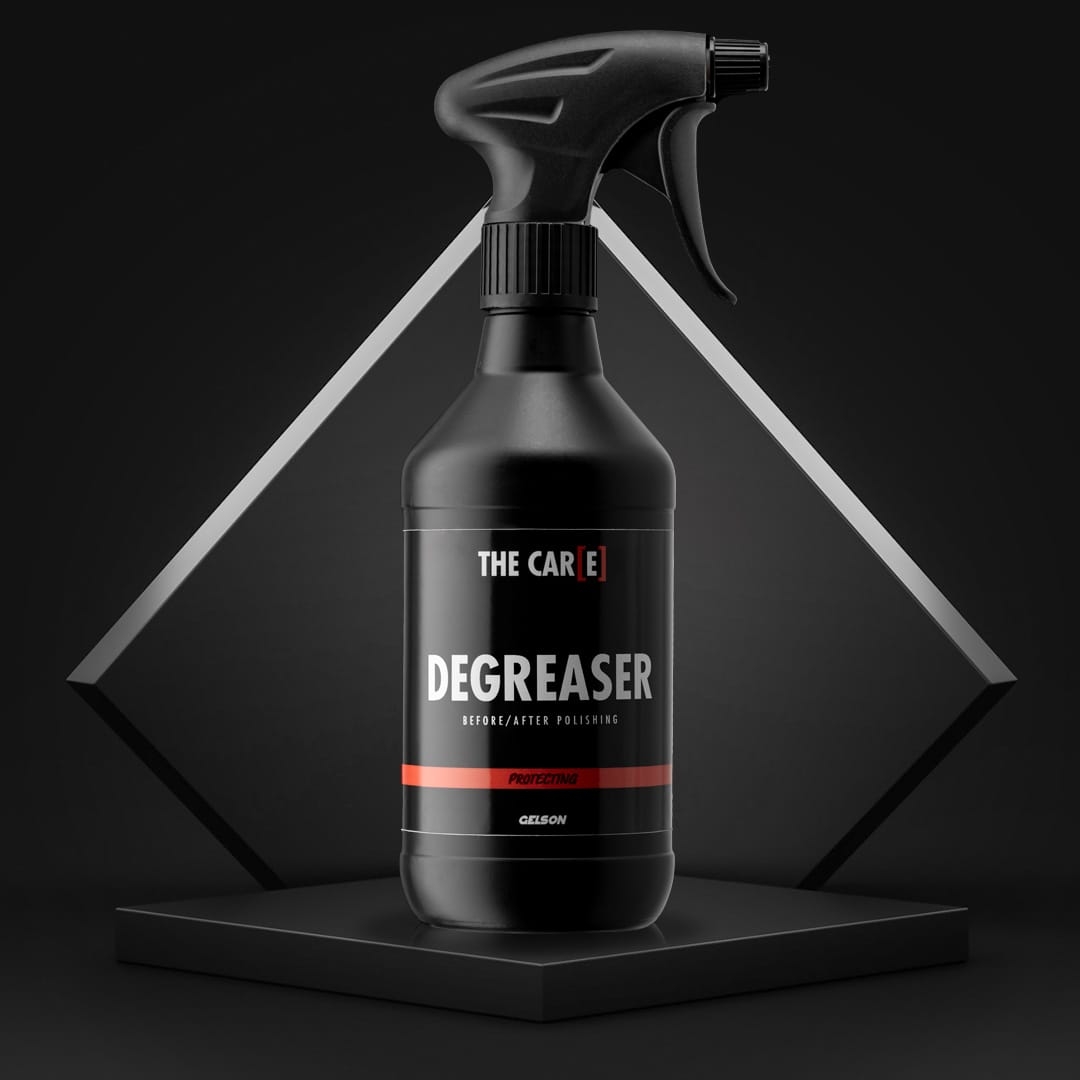
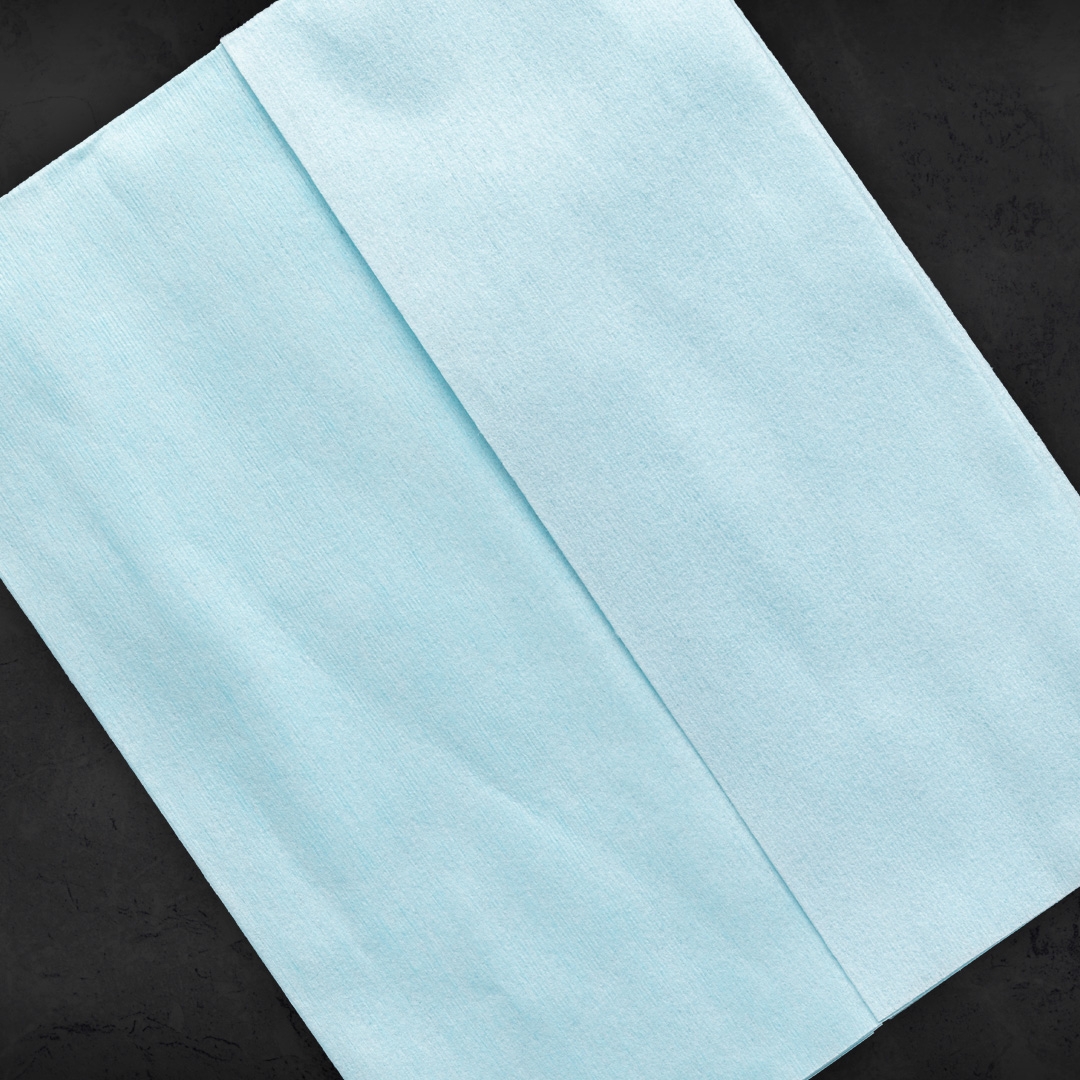
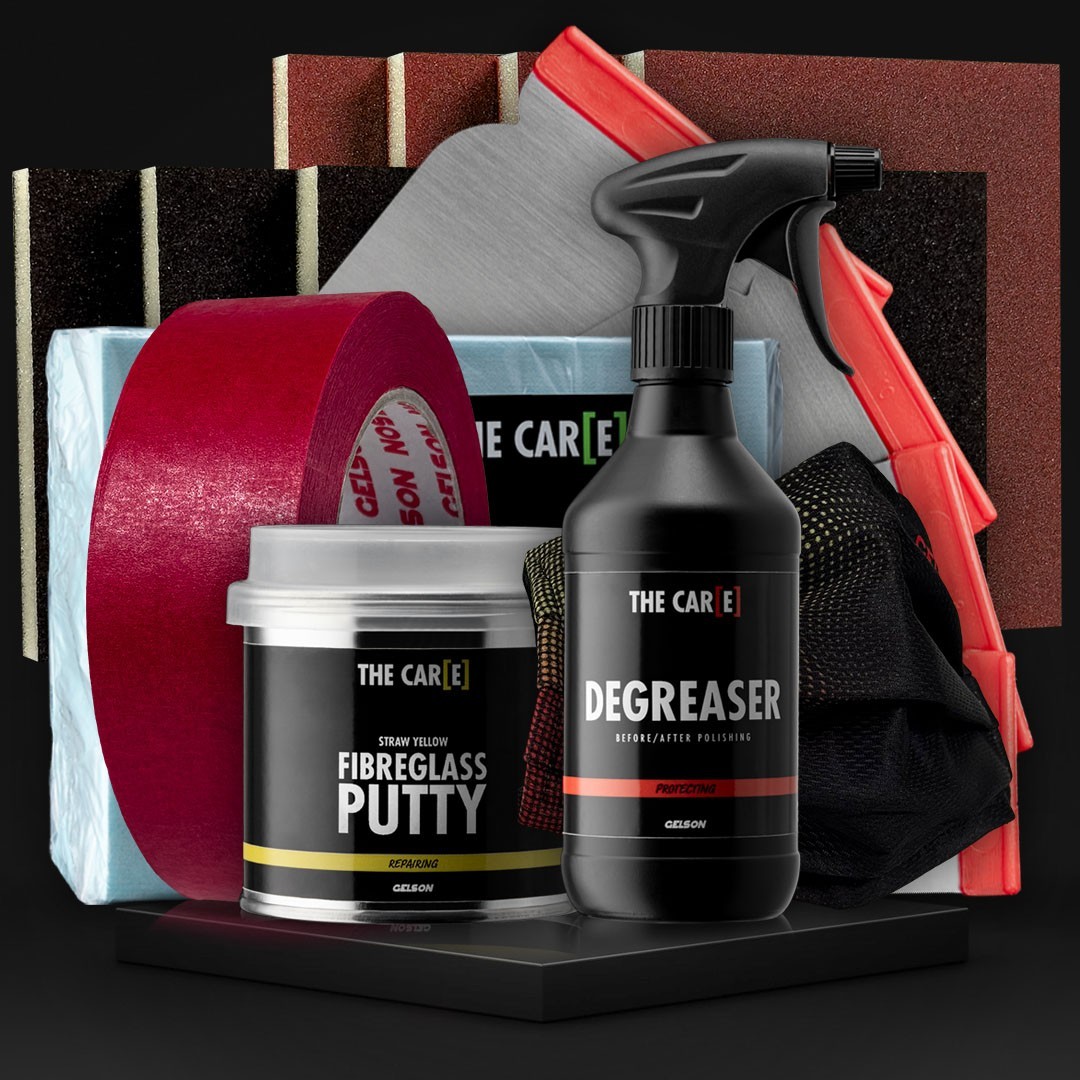
Obtain the best quality products and accessories needed for the small repair:

  • Fiberglass Filler : Be sure to choose a filler specifically for repairing fiberglass surfaces
  • Steel spatulas or plastic or metal scraper : for applying, leveling and smoothing the stucco
  • Sandpaper of various grits : from coarse to fine grit to prepare the surface and smooth the stucco
  • Face protection mask : to protect you from stucco dust
  • Protective gloves : made of vinyl or similar professional materials to protect the hands
  • Clean microfibre cloths : to clean the surface and grout residues

Procedure:

  • Surface Preparation : Make sure the fiberglass surface is clean and free of grease, dirt and debris. You can use a degreasing detergent such as Degreaser and TNT Cloth non-woven cloths to clean it and then rinse and dry well
  • Preparing the stucco : Follow the manufacturer's instructions for mixing your fiberglass stucco. Usually, it is a two-component putty like The Care Fiberglass Putty with the catalyst already included in the package to make it harden correctly. It is advisable to mix the stucco well before use and take small quantities from the can at a time using steel spatulas both to combine the catalyst by mixing it and rubbing two spatulas against each other to make the mixture uniform, and to spread the stucco. correctly on the surface to be treated
  • Applying putty : Use putty knives like those included in the convenient Putty Knife set of 4 different sized putty knives or a scraper to apply an even layer of putty to the surface. Try to spread the material evenly, filling any cracks or dents. Work quickly, and in small quantities at a time, as grout processing time can be limited. If you need to apply multiple layers, let each layer dry completely before applying another. Fiberglass Putty is designed to be layered without forming cracks or bubbles and to be finished with a finishing putty such as Standard Putty White to obtain a perfectly level and smooth surface
  • Leveling and Shaping : After applying the fiberglass filler, use the putty knife or scraper to shape and level the surface so it is as smooth as possible. You can slightly moisten the tool to facilitate processing. Try to get a smooth surface with no dips or bumps
  • Drying : Allow the grout to dry completely. Drying time varies depending on the type of grout and environmental conditions. Follow the manufacturer's instructions and make sure drying is complete and perfect
  • Sanding : Once the putty is completely dry, use sandpaper of various grits to smooth the surface. Start with a coarse grit to remove any imperfections and then proceed with finer grits to achieve a smooth finish
  • Cleaning : After sanding, clean the surface thoroughly and make sure to remove all residues of filler and dust. You can use a degreaser such as Degreaser with TNT Cloth non-woven cloths or a green microfibre cleaning cloth such as Microfibre Cloth green
  • Finish : If desired, apply a smooth finishing putty such as Standard Putty white or a porous one such as Standard Putty gray for a flawless finish and follow with an appropriate primer on the repaired surface to protect it and prepare it for painting

By following these steps carefully, and choosing quality fillers such as those from The Care collection, you will be able to apply fiberglass filler effectively to fiberglass surfaces, including vehicles, sheet metal, spoilers, side skirts, rear wings, gelcoat and other surfaces.

Read also:

In the world of small DIY car repairs, the application of putty is often used to repair small damages, dents or superficial bumps on the car body. Here's how you can apply stucco correctly.

Materials needed:

  • Auto Repair Putty : Make sure you use a quality putty specifically made for automotive repairs
  • Plastic scraper or metal spatula : for applying and leveling the stucco
  • Sandpaper of various grits : from coarse to fine grit to prepare the surface and smooth the stucco
  • Face protection mask : to protect you from stucco dust
  • Protective gloves : made of rubber, vinyl or similar materials to protect the
  • Clean cloths : to clean the surface and grout residues
  • Body primer (if necessary)
  • Body paint (if necessary)

Procedure:

  • Surface Preparation : Make sure the surface of your car is clean and free of dirt, grease and rust. You can wash your car and dry it thoroughly before starting the repair.
  • Preparing the putty : Follow the manufacturer's instructions for mixing your auto repair putty. Typically, you will need to combine the catalyst with the stucco compound to cure it properly, typically in a ratio of 1-2%.
  • Application of the stucco : after mixing it correctly using spatulas in small quantities at a time so that the mixture does not harden too much, use the scraper or spatulas of different sizes to apply and level the stucco evenly on the damaged surface. Allow the grout to dry according to the manufacturer's instructions. Drying time varies depending on the type of grout and environmental conditions
  • Sanding : After the filler is completely dry, if no further layering is necessary to completely level the affected area, use sandpaper of various grits to smooth the surface. Start with a coarse grit to remove any imperfections and then proceed with finer grits to achieve a smooth finish. A manual sanding pad may be useful and you can alternatively use a sanding machine according to your preference
  • Cleaning : After sanding, clean the surface thoroughly and make sure to remove all residues of filler and dust
  • Primer and paint (if necessary) : If you have applied filler to a visible surface, such as the body of your car, you may want to apply body primer and then body paint specific to the color of your vehicle to achieve a uniform finish

Remember that car repair putty is mainly used for light damage or superficial dents.

To guarantee high-quality results, we recommend The Care putty collection which offers a wide range of solutions for small DIY repairs of different materials and surfaces.

These are very high quality fillers, successfully on the market for 60 years, chosen by thousands of professionals, specifically designed to correct imperfections and small marks on the bodywork and other surfaces.

They are all two-component putties, with the catalyst already included in the package, which can be used with the appropriate set of Putty Knife spatulas of different sizes.

Let's discover them briefly together:

  • Standard Putty white : light, white, smooth fine-grained putty, for light thicknesses and for finishing
  • Standard Putty grey : heavy, grey, porous fine-grained putty, for light to moderate thicknesses
  • Standard Putty with aluminium : putty enriched with aluminum flakes, metallic grey, for higher thicknesses, layerable and refinishable with a finishing putty
  • Fibreglass Putty : putty for fibreglass, with glass fibres, for higher thicknesses
  • Plastics Putty black : putty for bumpers and other plastic parts, black, elastic
  • Marble Putty : creamy, non-pigmented marble putty, applicable for both horizontal and vertical surfaces

Read also:

Car repair putty can be used to repair small damages, dents, streaks, pits or other surface imperfections on the car body.

Some of the most common cases in which you can apply stucco to repair minor damage are:

  • Streaks and surface marks : You can use filler to fill surface marks on car paint, such as those caused by tree branches or abrasive objects
  • Light dents and chips : putty is also effective for repairing light dents caused by impacts or dropped objects
  • Stone and debris marks : Marks caused by road debris, such as pebbles and pebbles, can be repaired with putty
  • Small defects or cracks : If the paint shows small defects or cracks, filler can help fill these imperfections and restore the smooth appearance of the surface
  • Light hail damage : in the event of light hail, stucco can be used to fill and repair the superficial damage caused by it
  • Minor collision marks : Damage from minor collisions, such as bumps, bumps, blisters or superficial bumps, can often be repaired with putty

It is important to note that putty is best suited for small repairs and superficial damage. If you have more serious or extensive damage, such as deep dents or structural damage to the bodywork, professional assistance may be necessary. The correct application of stucco requires skill and patience to obtain high-quality results, as it is a process of some complexity.

We have seen some examples of cases in which the use of repair putties is advisable, but on which surfaces can it be done?

Here are examples of practical application of car repair putty on different types of surfaces:

  • Bodywork : Filler can be used to repair superficial damage or small dents in car paint
  • Sheet metal : dents or minor damage to sheet metal can be repaired with filler and then painted for a smooth finish
  • Metal parts : Metal components, such as doors, can be repaired with putty if damaged
  • Bumper Plastics : Exterior plastic filler can be used to repair damage or cracks on plastic bumpers
  • Other exterior plastics : Exterior plastic parts, such as rearview mirrors or door handles, can be repaired with putty
  • Fiberglass surfaces : on fiberglass vehicles, or fiberglass surfaces in the automotive but also nautical sectors, putty with fiberglass is useful for filling dents or superficial damage
  • Marble surfaces : In some luxury cars and campers, but also in boats and boats, decorative marble details can be repaired with marble filler
  • Plastic surfaces inside : Even plastic parts inside the car can be repaired with putty if damaged
  • Bumper fins : Damage to bumper fins, such as wind deflectors, can be repaired with putty
  • Friezes and decorative details : Automotive friezes and decorations, often made of plastic or metal, can be repaired with putty

The types of surfaces where putty can be applied are different and cover a wide range of materials common in automotive construction. However, the size and complexity of the damage will determine whether the repair can be handled DIY or will require assistance from an automotive or marine professional.

To guarantee high quality results, today we recommend The Care putty collection which offers a wide range of solutions for small DIY repairs of different materials and surfaces.

These are very high quality fillers, successfully on the market for 60 years, chosen by thousands of professionals, specifically designed to correct imperfections and small marks on the bodywork and other surfaces.

They are all two-component putties, with the catalyst already included in the package, which can be used with the appropriate set of Putty Knife spatulas of different sizes.

Let's discover them briefly together:

Read also:

You might also like

How to